
How To Restore Headlights DIY – Everything You Need To Know
July 23, 2021You are probably fed up with your car looking terrible with those yellow headlights. They have probably seen better days. And you are looking online at how to restore headlights DIY.
- Causes For Yellow Headlights?
- Restore Headlights With A Toothpaste
- How To Clean Headlights With WD40?
- Cleaning Headlights With Magic Eraser
- Cleaning With Vinegar
- How To Clean Headlights With Baking Soda?
- Cleaning Headlights With Coca Cola
- How To Clean Them Permanently?
- Conclusion
If you are a DIY guy, you are probably looking for a way to get your headlights repaired in one way or another. Repairing your headlights will fix their looks and also will make your car more capable during night driving because the light will pass through and you will not have a problem seeing.
How to restore headlights DIY is a simple process, in fact, there are a couple of ways how you can restore your headlights DIY and how to clean yellow headlights at home. In our guide, we are going to list them all.
In our guide, we included some temporary fixes and some permanent fixes. Which route you want to go will depend much on your budget and how much money you want to spend.
The more expensive route is permanent, but if you plan to sell the car, the simpler and the cheaper way will do the job very well. We also going to learn how to keep headlights from oxidizing and yellowing.
This job is labor-intensive and needs some dedication. So, if you are considering yourself fit for this job. Follow along.
What Causes The Headlights To Turn Yellow And Foggy?
There is one reason that makes your headlights turn yellow and foggy, and that is oxidation. Oxidation is something that troubles most of the modern cars whose headlights are made out of plastic.
The headlights come from the factory with a UV protective layer, and over time the sun and the elements destroy this UV protective layer and this layer then starts to peel off.
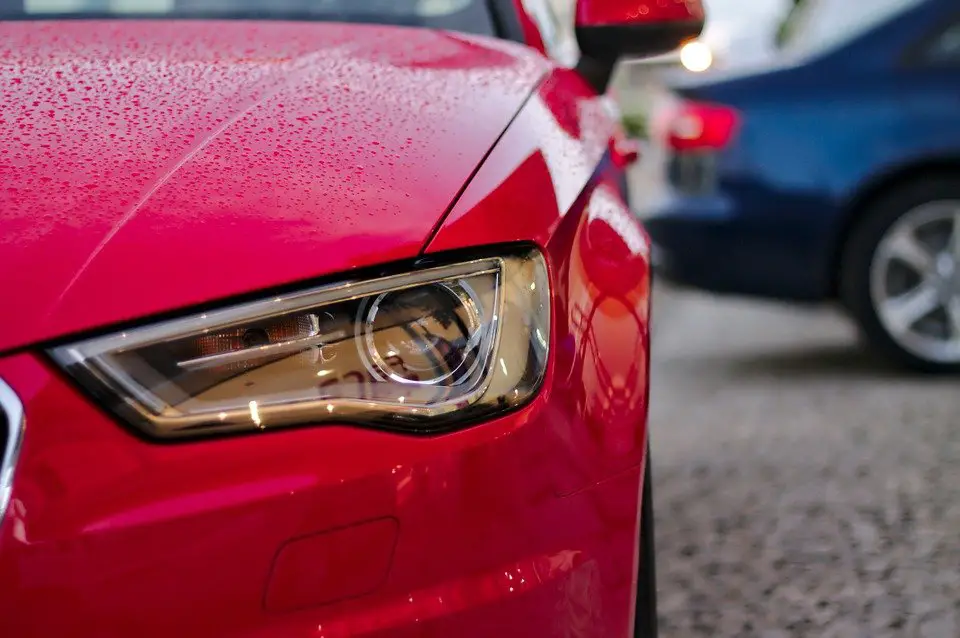
Free Stock Image By Pixabay
After the protective layer peels off, there is nothing else to protect your headlights from the sun and other contaminants. The plastic is starting to decompose and this decomposition is not a big of a deal, to be honest, but it can ruin the looks of your car and also ruin your vision during night driving.
In order for the lights to work perfectly during the night. The best thing to do is to clean them, and in this article, we are going to explain how to restore headlights DIY. We are going to uncover many DIY techniques for restoring headlights. Starting from simple methods, and then move on to restoring your headlights to factory spec. So, let’s begin.
Restore Headlights With A Toothpaste
Restore headlights with toothpaste is the simplest method out there when it comes to restoring headlights DIY. All you need is a toothbrush and toothpaste. What kind of toothpaste to clean headlights? Well, a regular Colgate paste will do the job.
How you can restore headlights with toothpaste is fairly simple. Protect the paint around the headlight with some masking tape. Masking tape is needed in order to perform this task because you don’t want to scratch your paint.
Then, take a toothbrush and pour some toothpaste on it. Then start rubbing the toothpaste on the headlight with the brush.
During this whole process, you need to be persistent and keep rubbing the headlight in a circular motion. This will make sure that you clean all of the contaminants and the burnt plastic on the headlight to be removed.
You need to rub the paste for around 15 minutes and then give it a nice wipe. Wipe off all of the paste from the headlight and see the result. The headlight should look 30% better than it used to. In order to achieve a better result. It is a good idea to give it a few more passes until you achieve the wanted result.
The downside of the toothpaste method is that it doesn’t make the headlights look perfect like they used to be. They will be still foggy and yellowish after this method. They will look 60% better than they used to but that isn’t much, to be honest. If you want to get a better result you may also try cleaning headlights with toothpaste and baking soda. The baking soda will improve the result by a slight margin, but not by a lot.
Another downside with this method is that the results are not permanent, because there is nothing left on the headlight to protect it. It will turn yellow again in a few months and you will have to repeat this procedure.
Cleaning Headlights With WD40?
Cleaning headlights with WD40 is also one of the tricks that people use to restore their headlights DIY. This is a simple procedure, similar to the toothpaste method.
Make sure that you mask off the headlights with masking tape to make sure that you don’t scratch the paint. You don’t want to ruin your paint.
Apply some amount of WD-40 on the headlight and start rubbing the headlight. Make sure that you hit every spot and rub in a circular motion. The headlight at the end will look much better.
It will look better because the WD-40 and the WD-40 is a lubricant. It will remove some of the yellowing and will clear off a bit, but cleaning headlights with WD-40 will not give you a permanent result. Similarly, to the toothpaste method.
The result will not be permanent and you will probably have to redo all the process all over again after few weeks when the WD-40 will burn from the sun.
Cleaning Headlights With Magic Eraser
Cleaning headlights with a magic eraser is a good idea. Magic erasers come at a cheap price and you can get a few of them for a few dollars. For this job, you will probably need a couple of these magic erasers.
Mask of the side paint of the headlight in case to prevent scratching. The magic eraser may leave some grooves on the paint if you don’t mask off.
After you masked off the paint you can start scrubbing the headlight from the yellow hazy plastic. Apply some water and start with the scrubbing process. Be gentle with it and run in a circular motion while cleaning headlights with a magic eraser.
After you did one pass, make sure that you wipe off your headlights with a clean towel and water. Repeat the process until you get them nice and shiny.
The disadvantage of this method is the bad result that it gives, you can’t expect much, to be honest. Especially with headlights that are too far gone. This is a good method if your headlights have started developing the first symptoms. The toothpaste method will probably work far better than cleaning headlights with a magic eraser if you have some really yellow headlights.
How To Clean Headlights With Vinegar
The next method on our list is how to clean your headlights with vinegar. This method is also used a lot when it comes to cleaning yellow and foggy headlights.
Similar to the previous methods, you need to mask off the paint around the headlight in order not to scratch and ruin your paint. Doing this will make you sure that your paint will be safe 100%.
After masking off, make a concoction of 50% water and 50% vinegar. Put this concoction in a sprayer bottle. You will need a sprayer bottle in order to get to all of the tight spots and make sure that you apply enough of the product to deliver results.
Spray the water and vinegar concoction on the headlight and gently rub with a toothbrush. Be aware that this process will take some time and don’t expect results at once.
After 15 minutes you can stop and clean the headlight with water. This will return the shine to the headlight and remove the debris from the cleaning. If there is a lot of debris that means that the cleaning was good.
If you are not satisfied with the result, you can repeat the whole process again. Repeating the process will give more shine to the headlight. When you are completely satisfied with the results you can apply some wax to protect the headlight.
The drawback with this method is that the shine is not permanent and you will need to look again at how to clean headlights with vinegar.
How To Clean Headlights With Baking Soda?
In this chapter, we will learn how to clean headlights with baking soda. This method, along with the toothpaste method is one of the most popular methods when it comes to cleaning foggy headlights. Mostly because it works and you will see clear results almost immediately. Baking soda will eat through the contaminants and completely remove them in the process.
The first thing you need to do is to mask off you’re the paint around the headlight with masking tape. Masking tapes are dirt cheap and they will do the job perfectly well.
And now comes the part on how to clean headlights with baking soda? It’s fairly simple, you need to get a big package of baking soda from your local retail store and then get a water sprayer and a sponge.
Apply the baking soda on the sponge and spray the headlight with water. Make sure that you do this with circular motions. You need to take your time because this procedure is going to last a bit.
Make sure that you go over the whole headlight a couple of times. After a few runs, you will start to see the results. The baking soda will start to eat the contaminants and the yellowing will start to disappear.
After you did one go, it is also useful to repeat the process as many times as you need in order to see a good result. This will take some time and effort but the end result is going to be worth it. Everything you need when it comes to how to restore headlights is patience and a little bit of effort.
But you should know that, like most of these methods, how to clean headlight with baking soda method will not last forever. With this method, you are just removing the oxidized part of the headlight and the headlight continues to oxidate.
This means that in few months you will have to repeat this process all over again. It is a good idea to apply a little bit of wax on the headlights after polishing. This will give them shine and will keep them safe for a few months from the elements.
How To Clean Headlights With Coca Cola
You probably know that Coca Cola can even eat rust, so why you shouldn’t learn how to clean headlights with Coca Cola? This is a simple method that you can do at your house whenever you feel ready to clean your yellow headlights. You just need to get 2L of Coca Cola and a toothbrush.
Before you begin you need to mask off the sides of the headlight to make sure that you don’t scratch the paint. You can get a roll of cheap masking tape. It will do the job perfectly.
After you masked off the paint, now it’s time to pour some Coca Cola on the headlight. You can put the Coca Cola into a sprayer in order to deliver good amount of Coca Cola on the headlight.
Then start rubbing the headlight in a circular motion. You need to do this process for a couple of minutes and then clean the headlight with a paper towel and water. The headlight at the end should look 50% better than it looked in the first place. We learned how to clean headlights with Coca Cola now let’s see what are the drawbacks of this procedure.
The drawback of this how to restore headlights DIY method is that it doesn’t deliver good results if your headlight is too far gone. Maybe you will see a slight improvement, but the fogginess will stay and the headlight will still be going to look like that.
How to Clean Headlights Permanently?
We have covered many methods on how to restore headlights DIY, but we haven’t covered a method on how to clean headlights permanently. Now, we are going to share a method for how to permanently restore the headlights of your vehicle. For this method, you will need masking tape, water, sandpaper for wet sanding, UV protective clear coat. This process will permanently restore the headlight and return it to factory spec.
Step 1 involves masking the paint around the headlight. If not properly masked, the sandpaper will leave some permanent grooves on the paint and you will probably have to repaint these parts. So don’t do that, mask your car to be perfectly safe.
Step 2 involves sanding your car with sandpaper, start with a 400 grit and spray the headlight while you do this, make sure that you don’t scratch too long because this sandpaper will eat the plastic. Make sure most of the contaminants are removed and move to finer sandpaper.
Step 3 involves sanding your headlight with 800 grit sandpaper. Same as the previous process, make sure that you remove a small layer and after sanding wipe off the headlight with a microfiber towel.
Step 4 involves going to an even finer grit of 1000, repeat the whole process until the headlight scratches are almost removed.
Step 5 involves going to 2000 grit sandpaper and this grit is extremely fine. This sandpaper will remove all the remaining scratches and contaminants from the headlight. After you are happy with the end result. Wipe it off the headlight and check the result. If there are still scratches you should give it another pass. If it looks ok then you are good to go.
Step 6 involves masking your car with masking paper because we are going to paint the headlight with the UV protective clear coat. Make sure that you mask off the hood, bomber, and fender. After this, wipe the headlight with a degreaser to make sure that there are no contaminants.
Step 7 involves painting your headlight with the UV protecting clear coat, this is the way how to restore headlights permanently. Give it one light coat at the start, after the first coat dries out. Apply another coat of UV protecting clear coat. The third coat should be the final, and after this, your headlight will look spectacular. You will be perfectly satisfied with how it came out.
Note: if you don’t want to use a UV-protecting clear coat you can use something that is called ceramic coating. This is a completely new product and will work in the same way as UV protective coating and will last for a long time. The difference with this is that you don’t have to spray your headlight. You only need to apply a small amount of the ceramic coating on a sponge and rub it on the headlight. Make sure that you cover all the surfaces and you will get a similar result and you will never have to look online how to restore headlights DIY.
Conclusion
In this article, we discussed the most common ways how to restore headlights DIY. These included the toothpaste method, baking soda method, Coca Cola method, and more. But all these methods of restoring headlights do not answer the question of how to restore headlights permanently.
In the last chapter, we discussed how to restore headlights permanently. And that way is by using sandpaper and UV protective coat. This process may be pricier than the other methods but surely it gives the best results.

